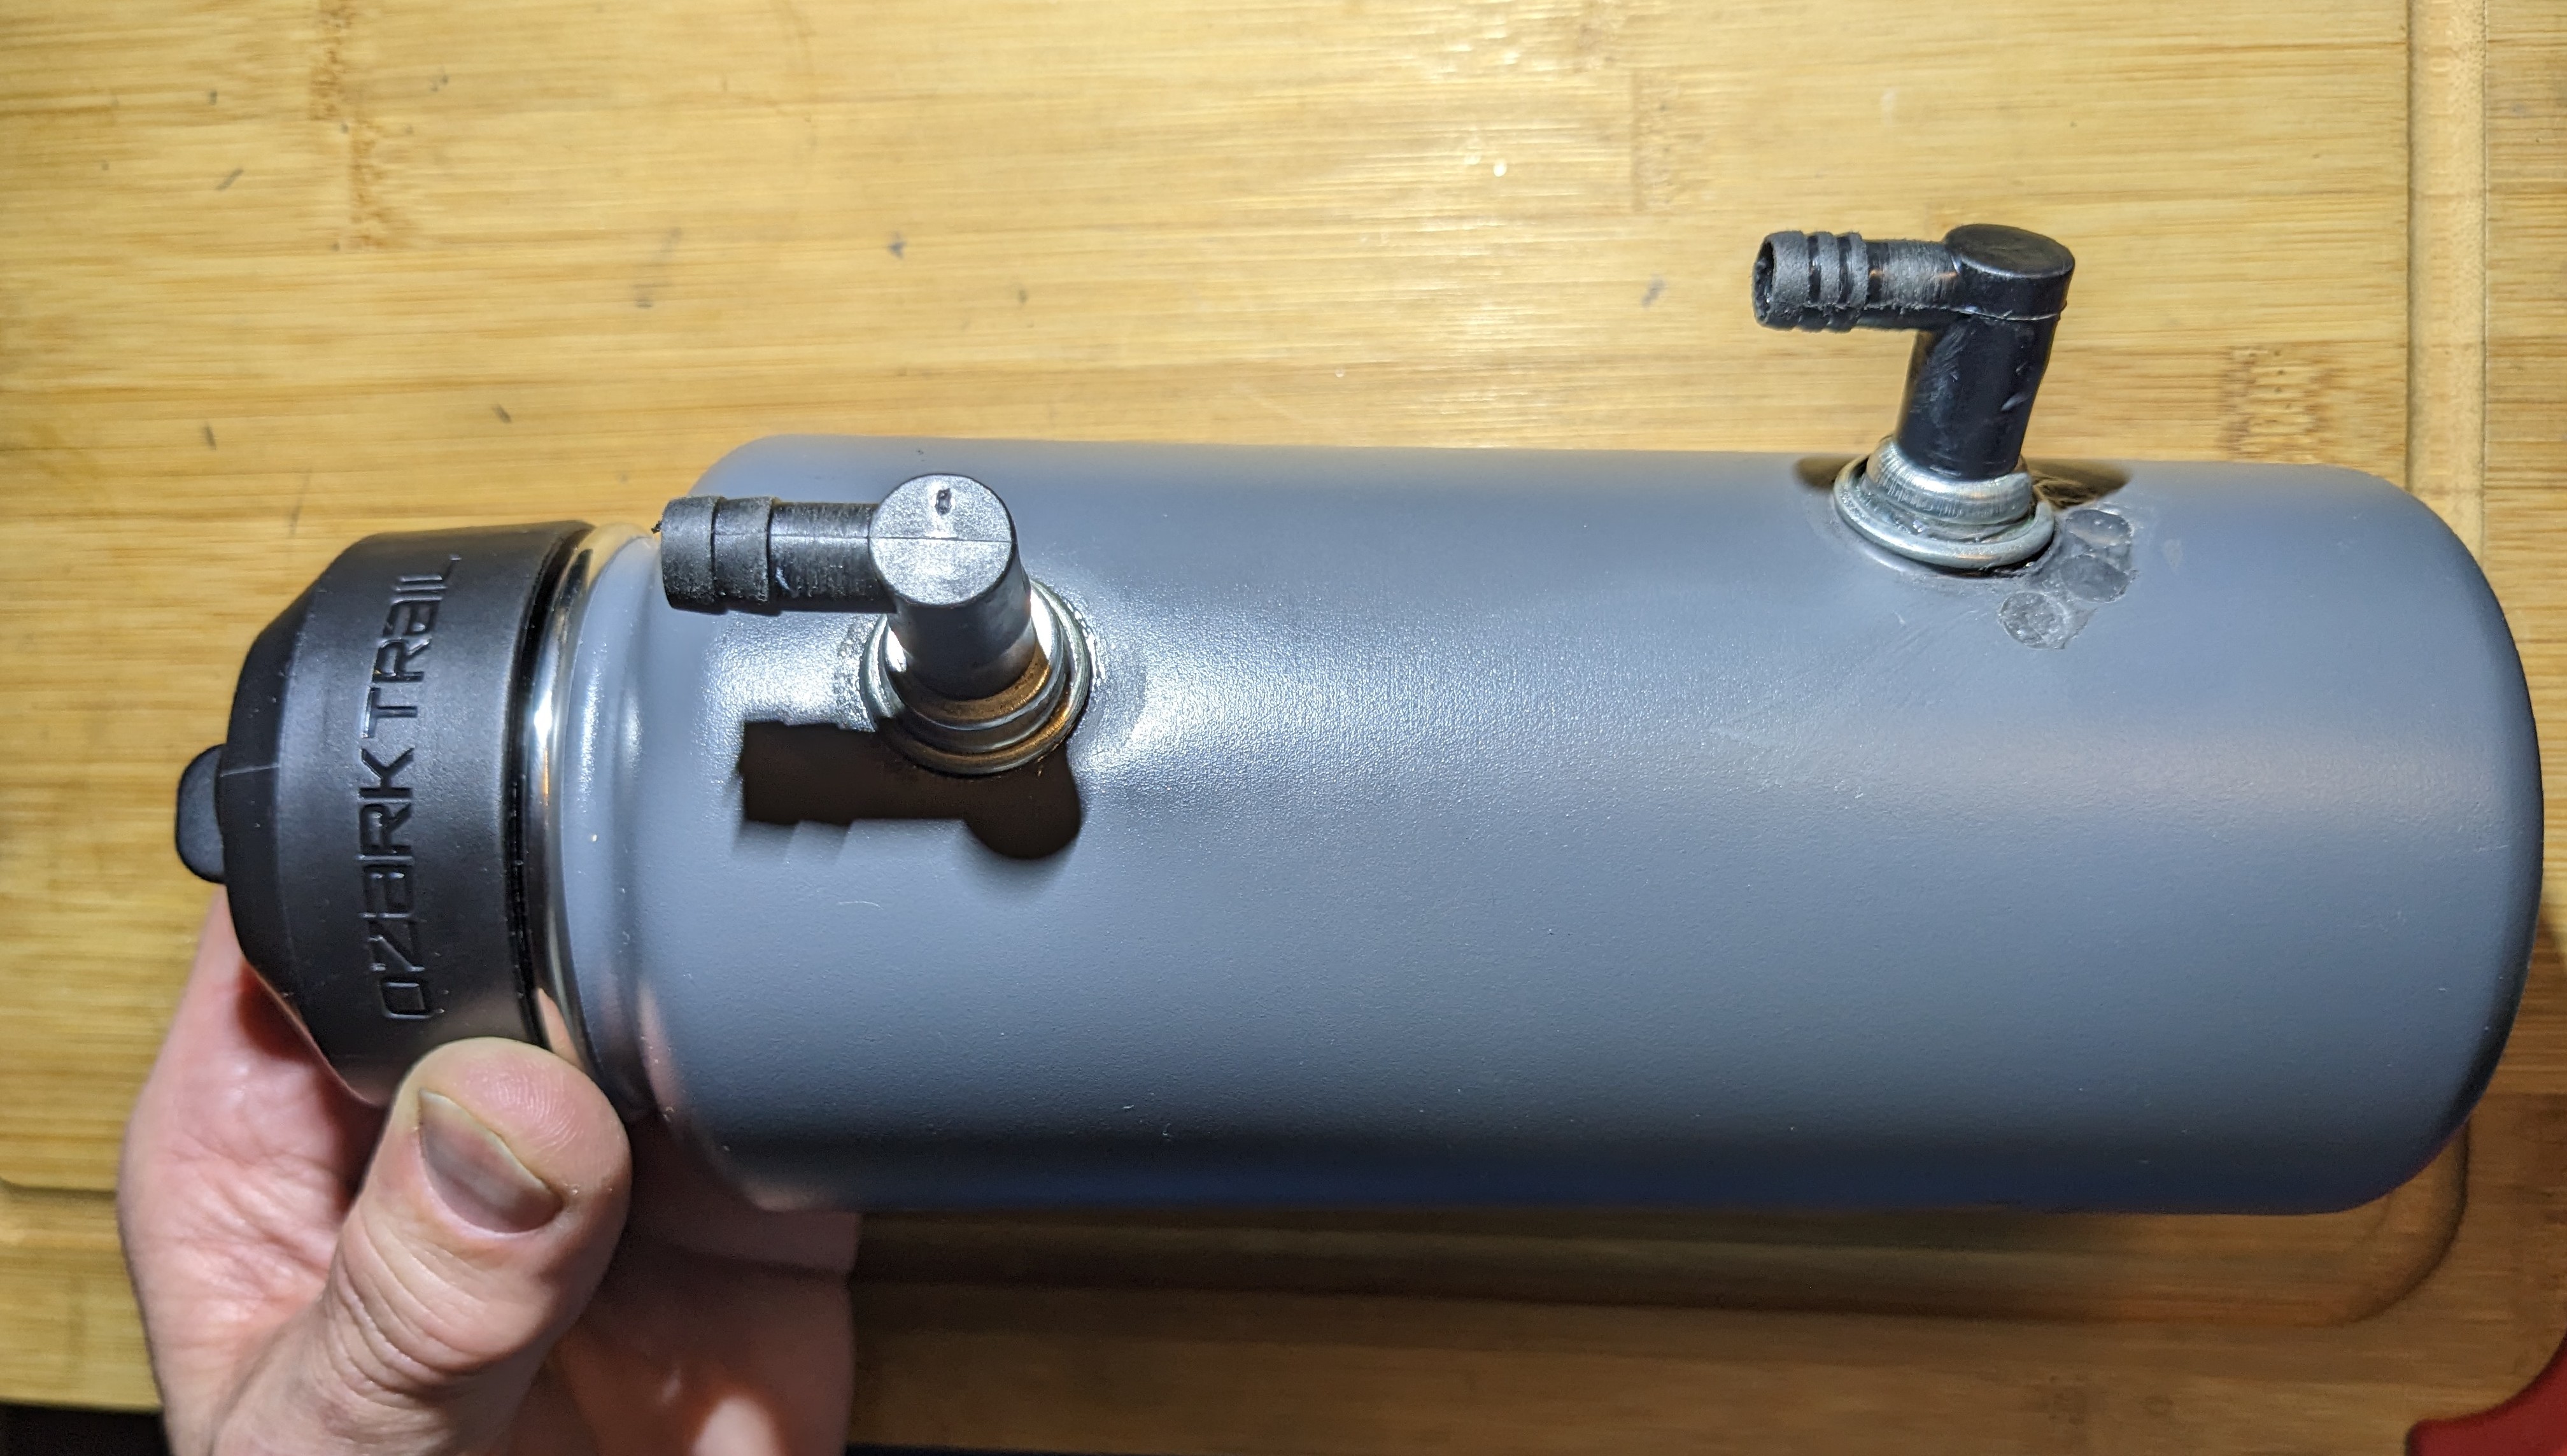
My S10 has above average blow by and with all the cold weather the moisture is really condensing inside the vent tube that goes from the rocker cover into the back of the air cleaner. I made an oil catch can a year ago and it seems to work pretty good but I decided to make a larger one. I figure the moisture will condense inside this larger version better.
Some new cars even come with these catch cans. They prevent the engine from having to suck in oil, oil fumes, fuel residue and water vapor. Until you collected some of this, you don't realize how nasty the stuff is.
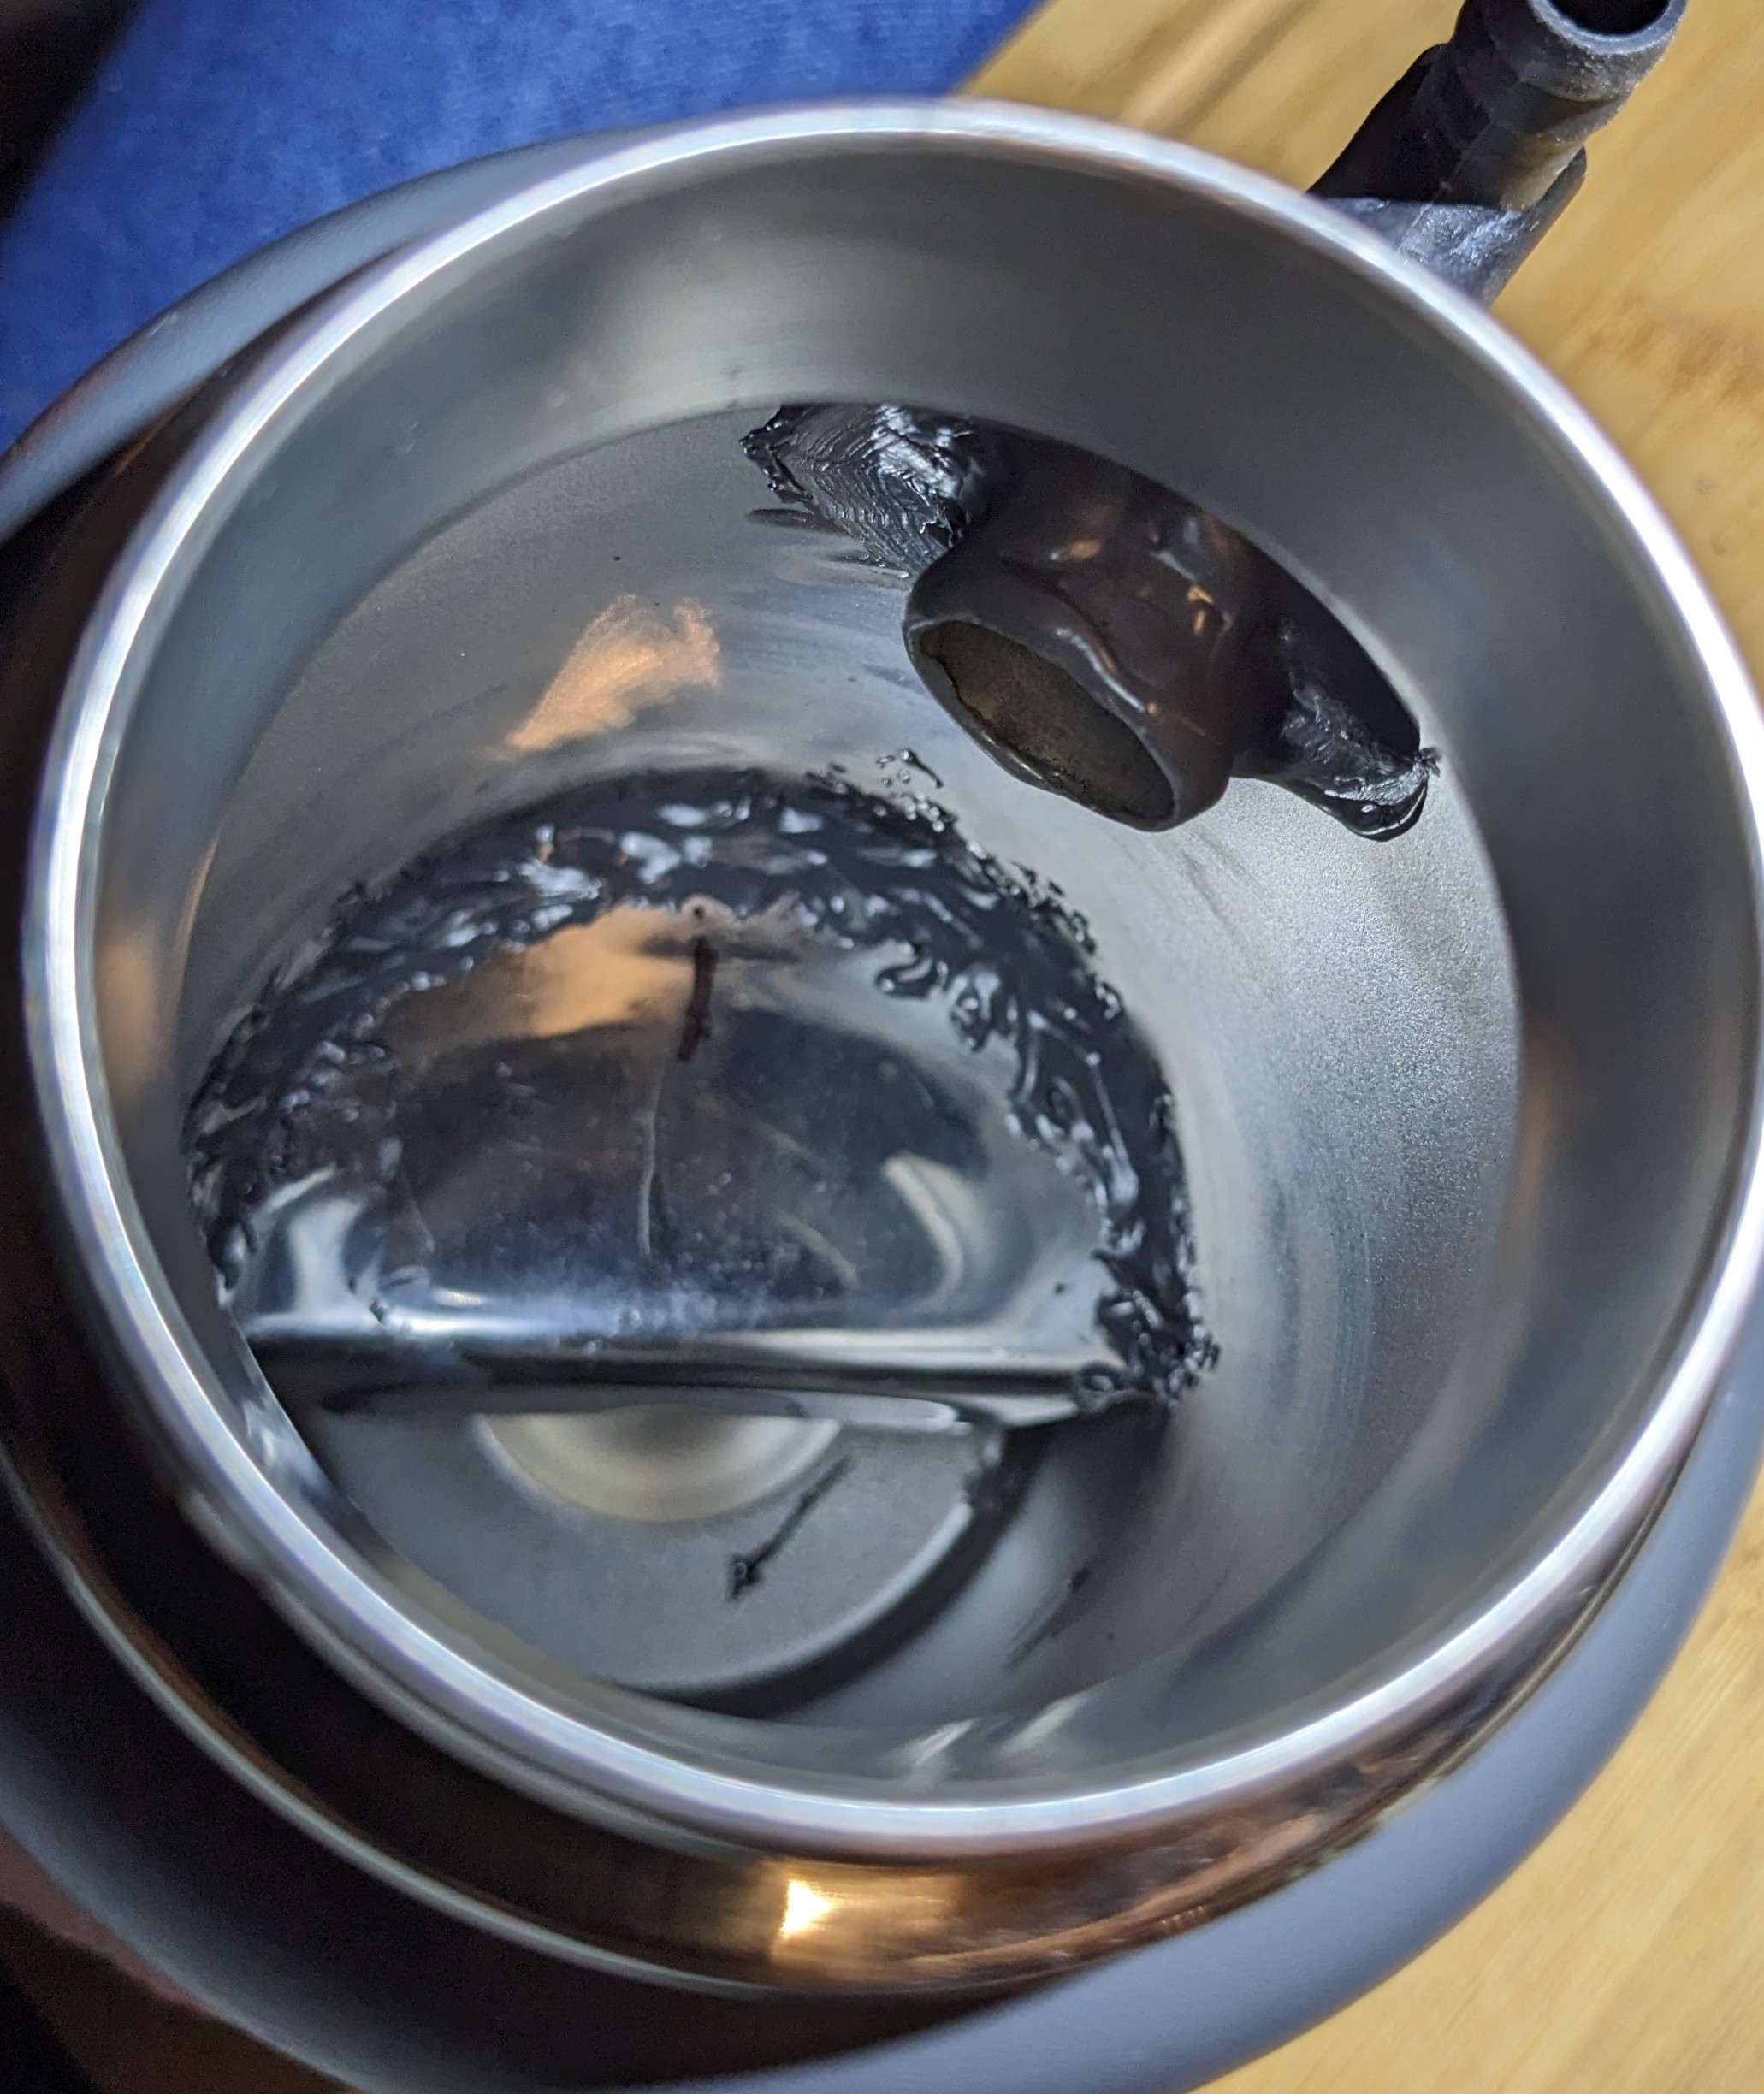
The filter can has an upper and lower chamber. It took quite a while to fit or suspend a baffle over the lower intake. Once I had it fitted, I slobbered a bead of JB weld to hold it in place.
I'll l put one of those stainless steel BBQ scrubbers on top of that baffle it gives the vapors something to collect on.
Fun little lazy day project.
....ok, two lazy days.
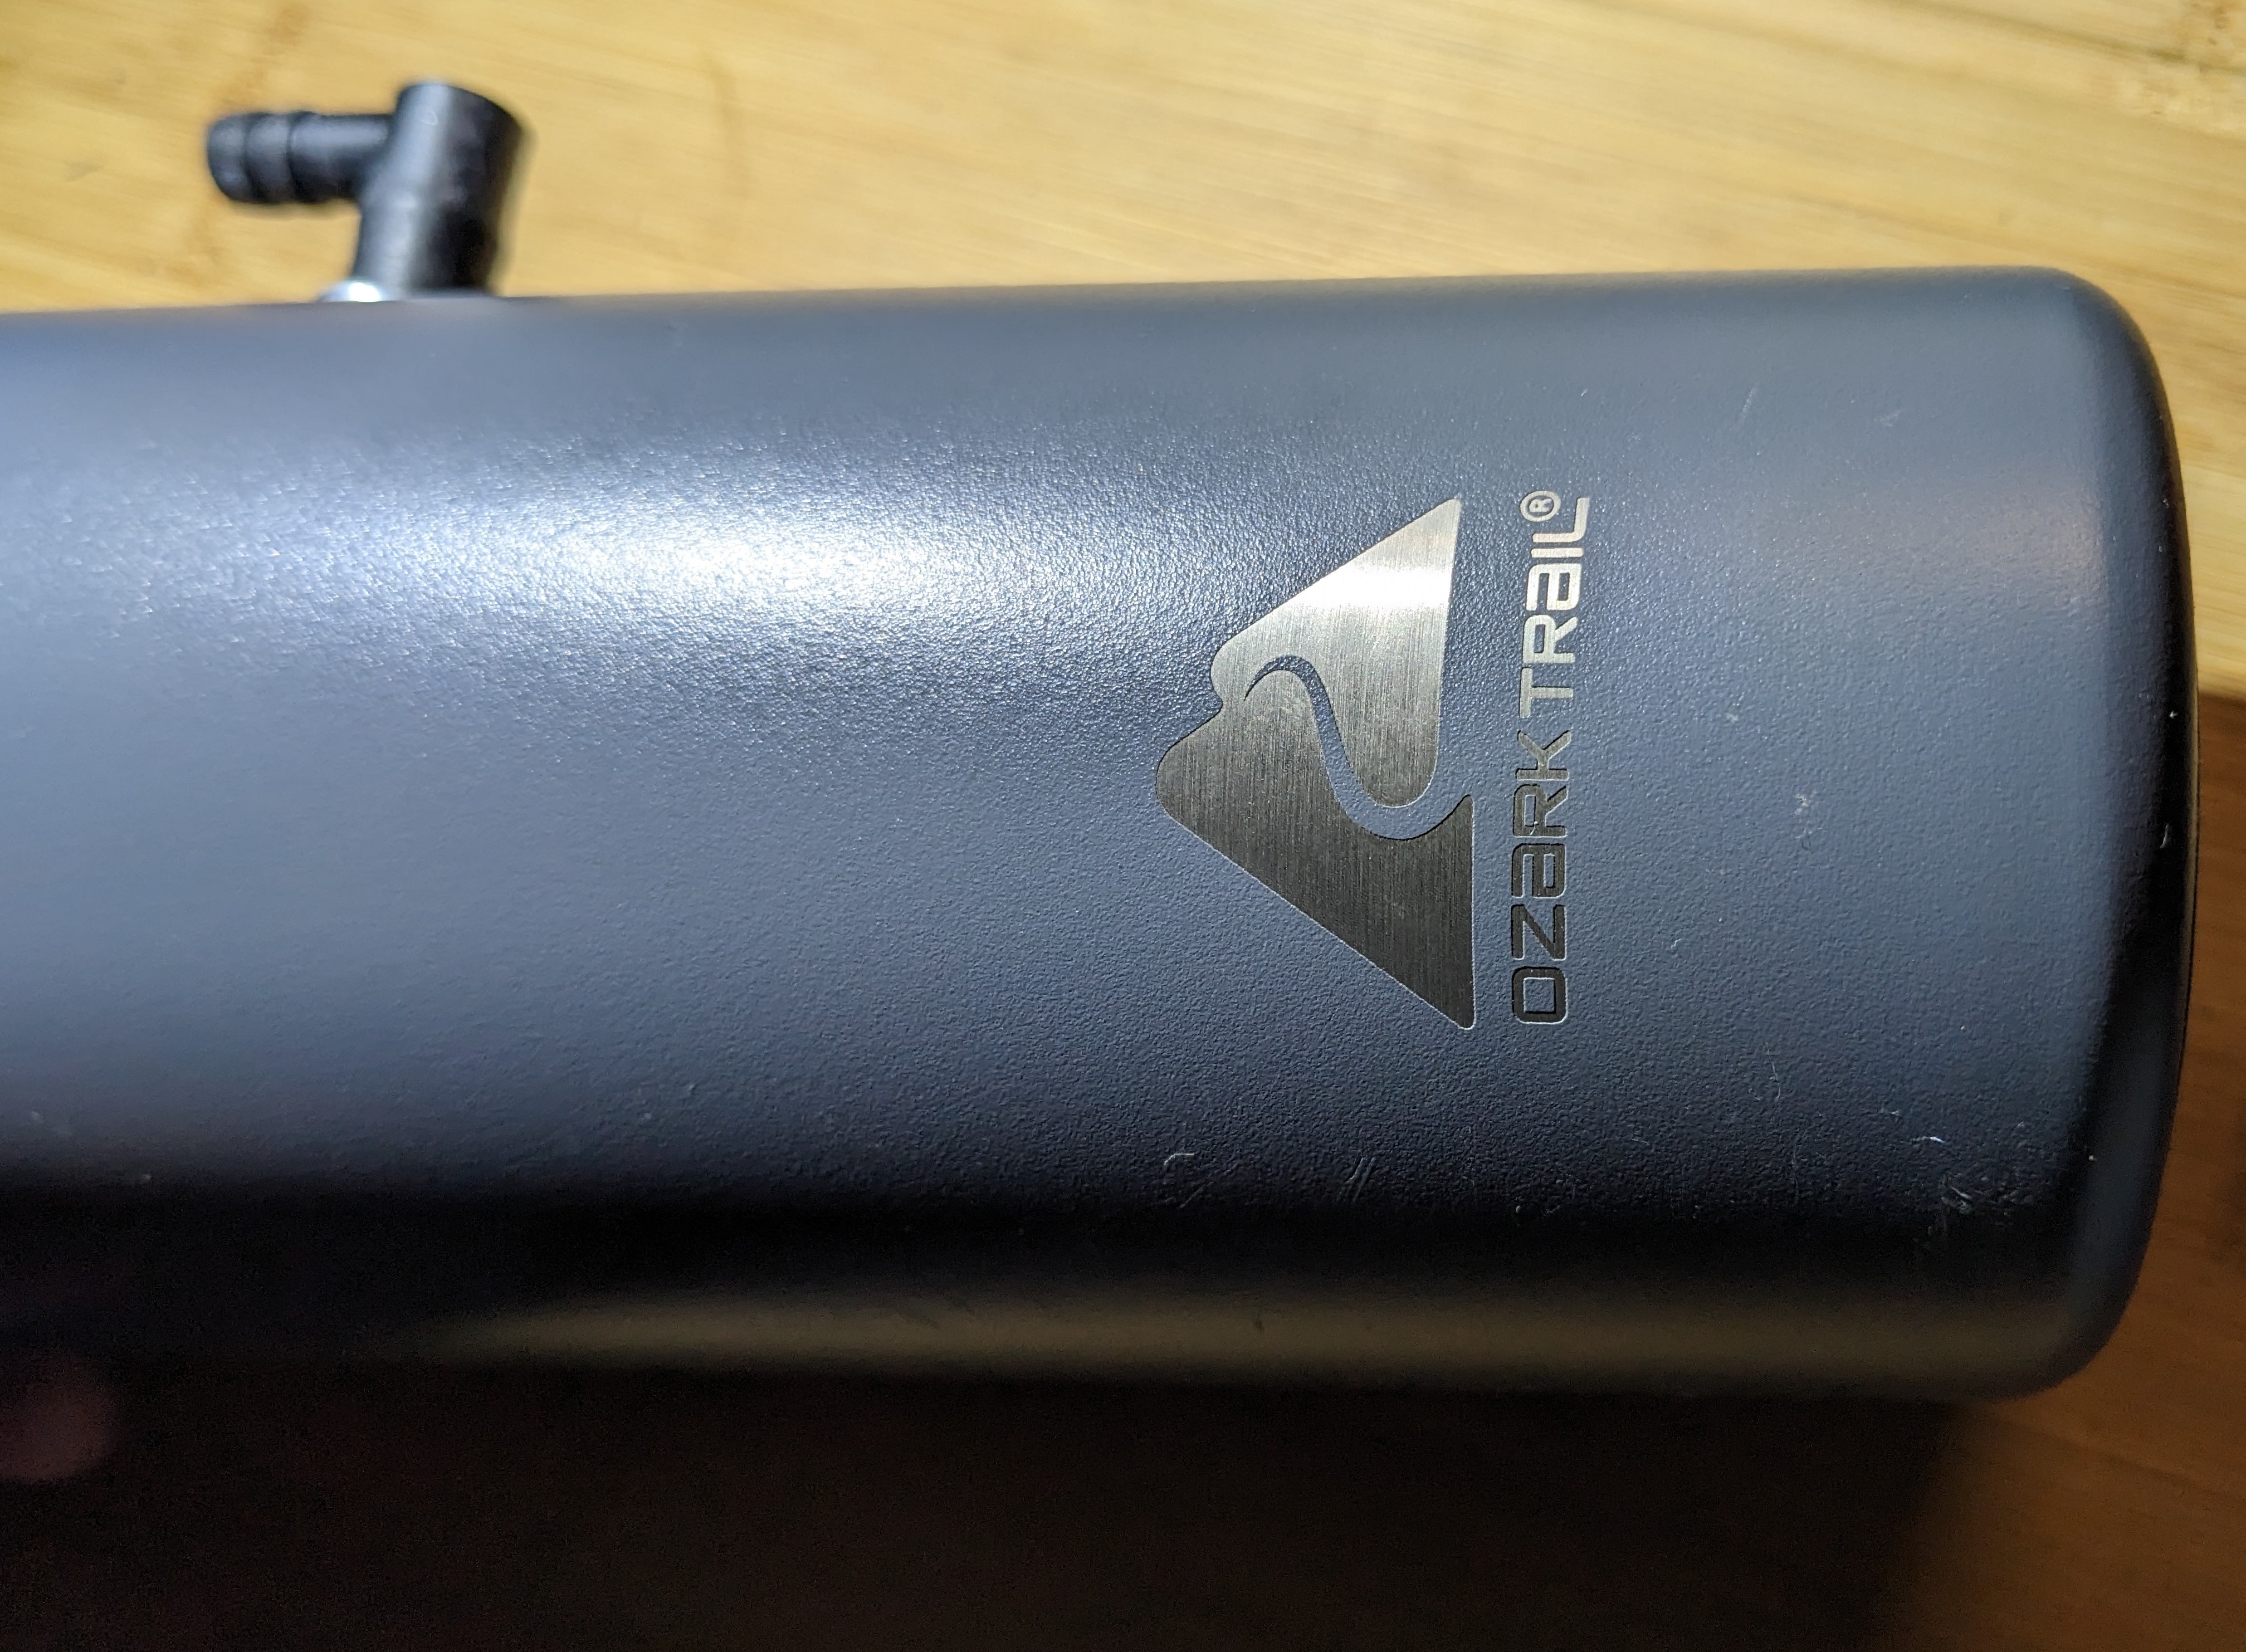
The 32oz thermos was $10 at Wallyworld. You can buy these catch cans from $15 to $700, but that's no fun, is it?
I'm thinking of adding a smaller one on the PCV side. Maybe I'll clean my old one and put it there as a test to see how much it collects and if it's worthwhile.
All these oil fumes go back into the throttle body and get sucked in and reburnt. These keep the throttle body and the plugs cleaner.